
Table of Contents
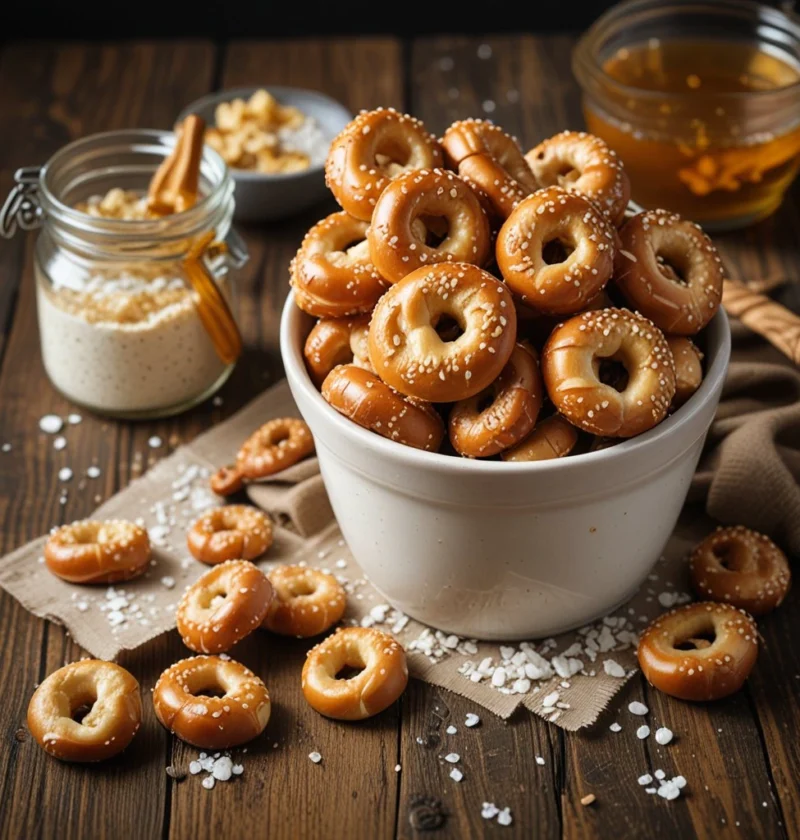
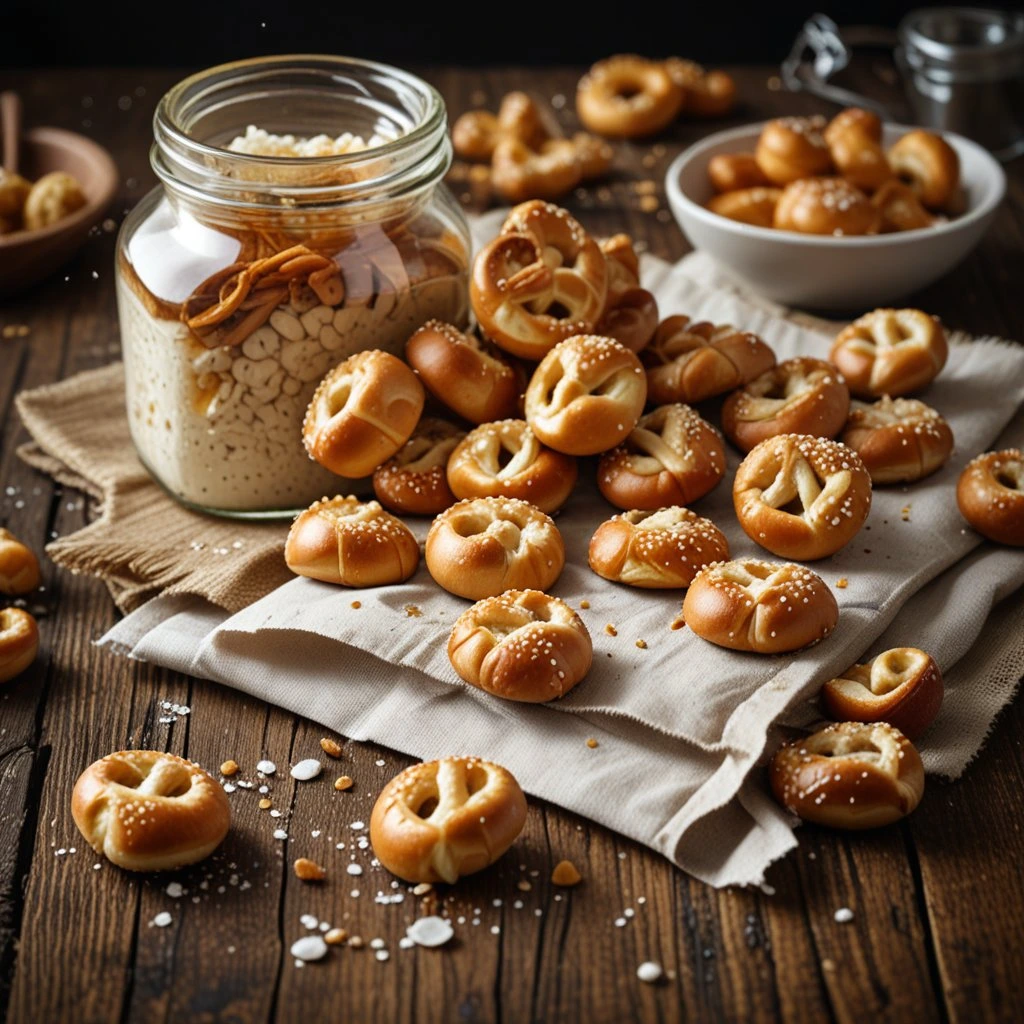
Sourdough pretzel bites are not just delicious snacks – they’re healthier than regular pretzels. Their fermentation process makes vitamins and minerals more accessible to your body and reduces gluten content. These chewy treats need just a few basic ingredients: active sourdough starter, flour, honey, and salt.
Making sourdough pretzel bites takes less effort than you might expect. A quick baking soda bath gives them their signature chewy texture and distinctive crust. Your pretzel bites can feature different toppings like flaky sea salt or everything bagel seasoning, whether you use active starter or sourdough discard.
This piece walks you through creating these crispy, buttery treats that last in your freezer up to 3 months. You’ll become skilled at everything from mixing the dough to getting that perfect golden-brown finish. The process breaks down into simple steps that new bakers can easily follow.
What You Need to Make Sourdough Pretzel Bites?

Let’s dive into making perfect sourdough pretzel bites. You’ll need the right tools and ingredients to create these delightful treats.
Simple kitchen tools
A stand mixer with a dough hook attachment makes mixing easier, though you can knead the dough by hand. You’ll need a large mixing bowl, a bench scraper to handle sticky dough, and a wooden spoon to stir.
A high-sided saute pan (3 quarts or larger) works best to boil the pretzel bites because its shallow depth lets water boil quickly. A wire spider or slotted spoon helps you move the bites in and out of the water safely.
Your pretzel bites will brown evenly when you use quality baking sheets. Parchment paper or a reusable liner keeps them from sticking and makes cleanup a breeze.
The core team of ingredients
An active, bubbly sourdough starter is the foundation of these pretzel bites. Traditional recipes don’t use commercial yeast, so the starter provides natural fermentation. Filtered water works best because chlorine can interfere with fermentation.
Honey or light brown sugar adds sweetness and develops flavor. Unsalted butter brings richness, but olive oil or vegetable oil can work too.
You’ll need two types of salt – sea salt for the dough and coarse salt as topping. The baking soda bath creates that distinctive pretzel exterior by gelatinizing the outside, which prevents full rise during baking.
Types of flour to use
Bread flour with about 13% protein content makes chewier pretzel bites compared to all-purpose flour. King Arthur bread flour’s blue bag variety gives excellent results.
All-purpose flour can work well. Note that whole wheat flour changes the texture too much, so it’s best avoided.
Rice flour prevents sticking better than wheat flour when you dust your work surface and proofing baskets, as wheat flour gets sticky during long proofs. You can keep rice flour in your freezer to make it last longer.
Your pretzel bites can become unique treats with optional toppings. Here are some ideas beyond traditional coarse salt:
- Everything bagel seasoning
- Parmesan or cheddar cheese
- Cinnamon sugar (perfect for fall)
Preparing Your Sourdough Starter
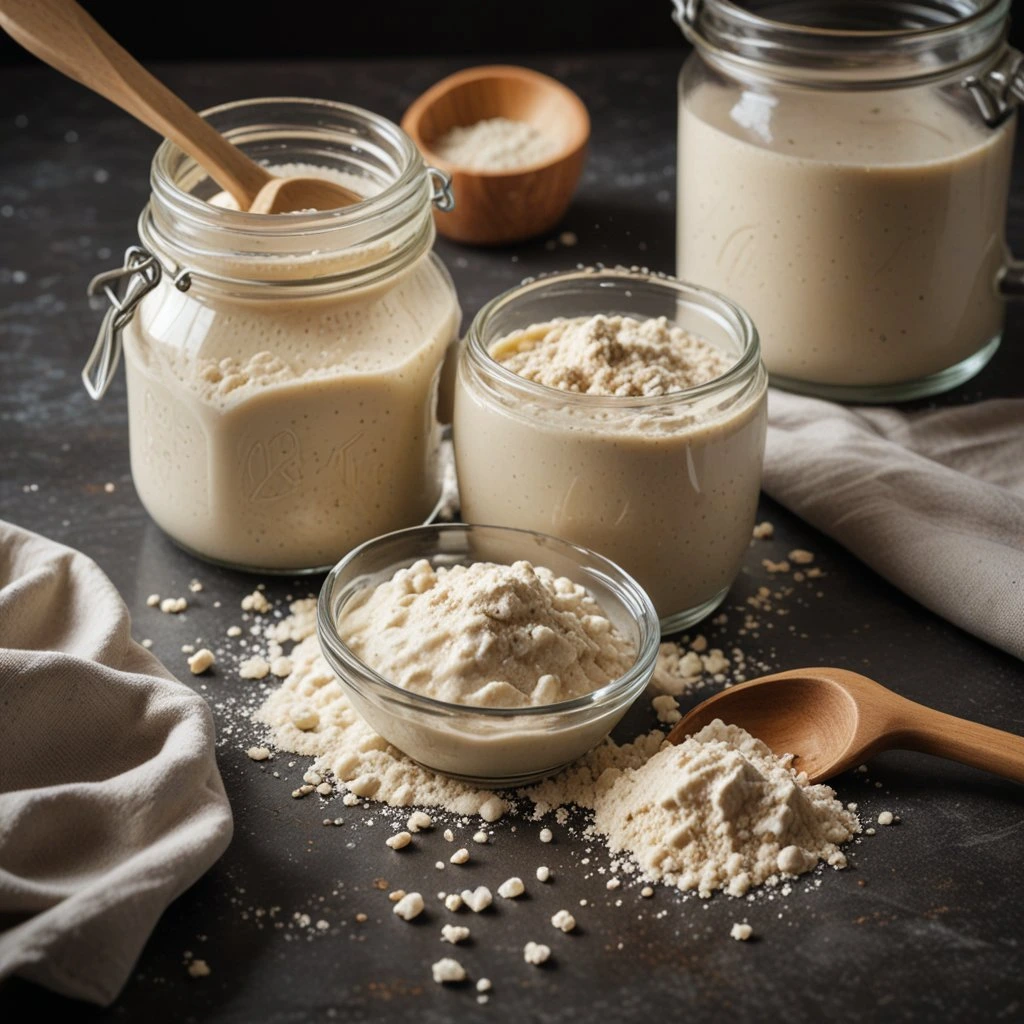
Your sourdough pretzel bites’ success depends on how well you understand your starter’s behavior. A properly managed starter will give you flavorful, perfectly textured bites through proper fermentation.
Active vs discard starter
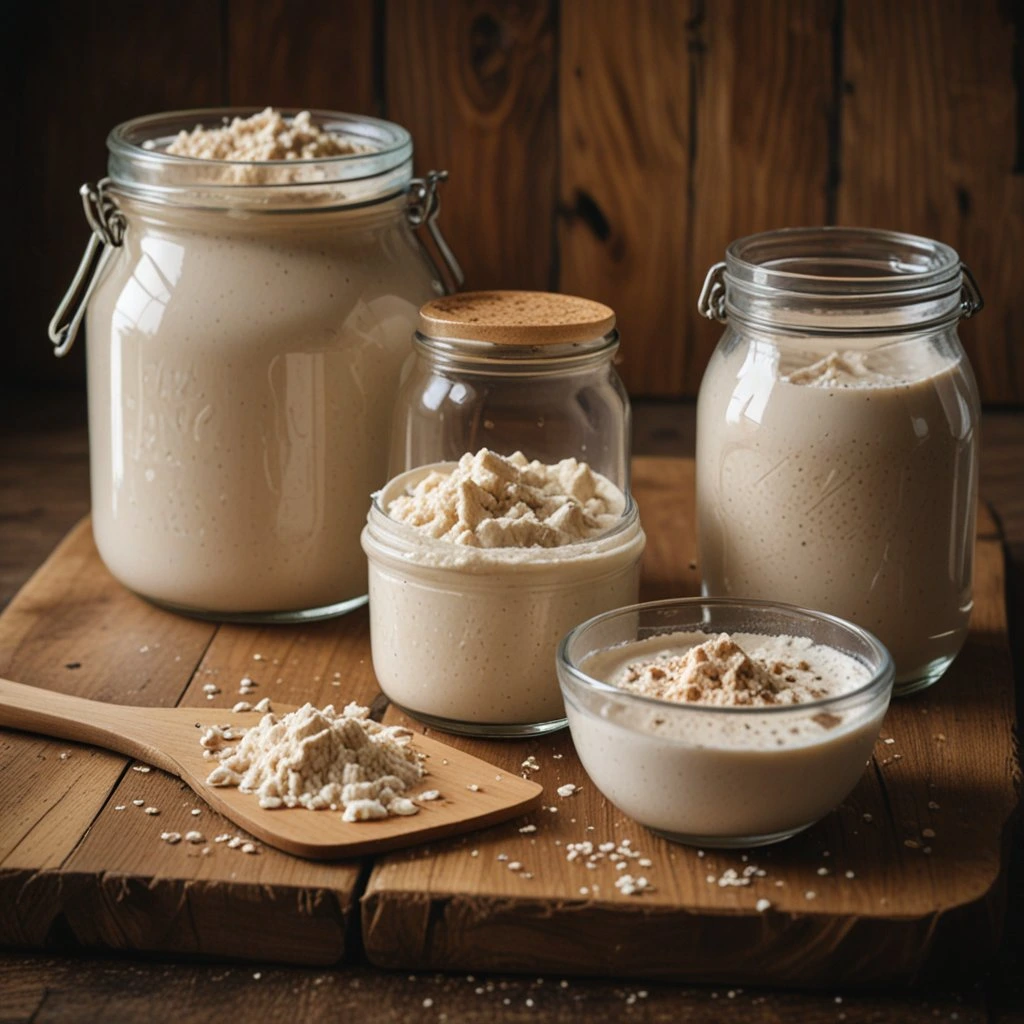
Active sourdough starter is different from discard in strength and behavior. An active starter doubles in size 4-6 hours after feeding. You’ll see plenty of bubbles on the jar’s surface and sides. This bubbling shows strong fermentation that your dough needs to rise properly.
The discard has slower cultures that make the dough rise gradually. You can still make tasty pretzel bites with it instead of throwing it away. The discard creates deeper flavors but needs more bulk fermentation time because of less yeast activity.
The float test helps you know if your active starter is ready. Drop a small amount in water – a floating starter means it’s ready for baking. This test shows peak fermentation activity that will help your pretzel bites rise and develop the right texture.
When to feed your starter
Your pretzel bites’ quality depends on when you feed your starter. Feed it at the same time daily to create predictable rise and fall patterns. Most bakers feed their starters in the morning since it fits well with regular baking schedules.
Storage method determines the feeding schedule:
- Room temperature storage needs 1-2 daily feedings
- Refrigerated storage needs weekly feeding
Feed your starter up to 12 hours before mixing the dough. Look for these ready signs:
- Double in volume
- Abundant surface bubbles
- Sweet-sour aroma balance
- Visible fermentation activity at container sides
Use consistent ratios to refresh your starter. Mix 70g medium-protein white flour with 30g whole-grain rye flour and 100g water for every 20g of mature starter. This mix gives wild yeast and bacteria the right nutrition.
Take refrigerated starters out and feed them 2-3 days before baking. This helps the cultures become strong again. Use filtered water because chlorine in tap water can stop fermentation.
Your starter’s smell tells you when it’s ready. It changes from sweet to slightly sour. The best time to use it is before it develops strong vinegar notes. Learning these subtle changes helps you catch your starter’s peak performance.
Discard extra starter before each feeding to avoid too much acid. Keep the discarded portions in a separate container in your refrigerator for up to two weeks. These portions work great for future pretzel bites or other sourdough recipes.
Making the Pretzel Dough
Making perfect sourdough pretzel bites from basic ingredients needs the right mixing and kneading techniques. You’ll learn the steps to make soft, chewy pretzel bites that taste amazing.
Mixing ingredients
Start by mixing your sourdough starter and sweetener in water. Use a fork to whisk until they blend together. The best results come from combining 5¼ cups water with your starter to get the right hydration.
Add flour, salt, and softened butter to make your base dough. You’ll notice a shaggy texture that shows the ingredients have mixed well. Let this mixture sit for about 15 minutes so the flour can soak up all the liquid.
Pro tip: Both bread flour and all-purpose flour work great for pretzel bites. Bread flour gives you a chewier texture.
Kneading techniques
The dough needs kneading after its rest. You can use a stand mixer with a dough hook or your hands. Stand mixer users should mix on low for 2-3 minutes until everything combines. Then switch to medium speed for 4-6 minutes until the dough looks smooth and holds together.
Kneading by hand takes about 6-8 minutes of steady work. Your dough should be:
- Stiff yet workable
- Smooth and supple
- Not sticky to touch
- Dense like sandwich bread dough
Important note: Adding honey as sweetener means you’ll need 10-15 extra grams of flour while kneading because honey makes the dough stickier.
How to tell when dough is ready
Your pretzel dough shows it’s ready through these reliable tests:
- The poke test: Push your finger into the dough – it should bounce back slowly if kneaded right.
- The windowpane test: Take a golf ball-sized piece and stretch it gently. Light should shine through without tears to show good gluten structure.
- Visual cues: Look for a smooth, shiny surface that pulls away from the bowl cleanly.
Put your well-kneaded dough in a lightly oiled bowl to ferment. Room temperature (74-76°F) fermentation takes about 3½ hours. Cover the dough with plastic wrap to keep it from drying out.
Temperature tip: You can refrigerate the dough for 8-24 hours after kneading to work with your schedule. This slow fermentation makes the flavor even better.
The dough should grow to almost triple its size before shaping. It becomes soft and puffy, looking like small twisted pillows – exactly what you want for perfect pretzel bite texture.
A spray bottle helps keep the right moisture level. Mist the dough, your hands, and work surface if things feel dry. This creates just enough grip to shape the dough while keeping its structure intact.
Shaping and Boiling Your Pretzel Bites
The baking soda bath and shaping the dough are vital steps that make sourdough pretzel bites unique. These steps set them apart from regular bread bites.
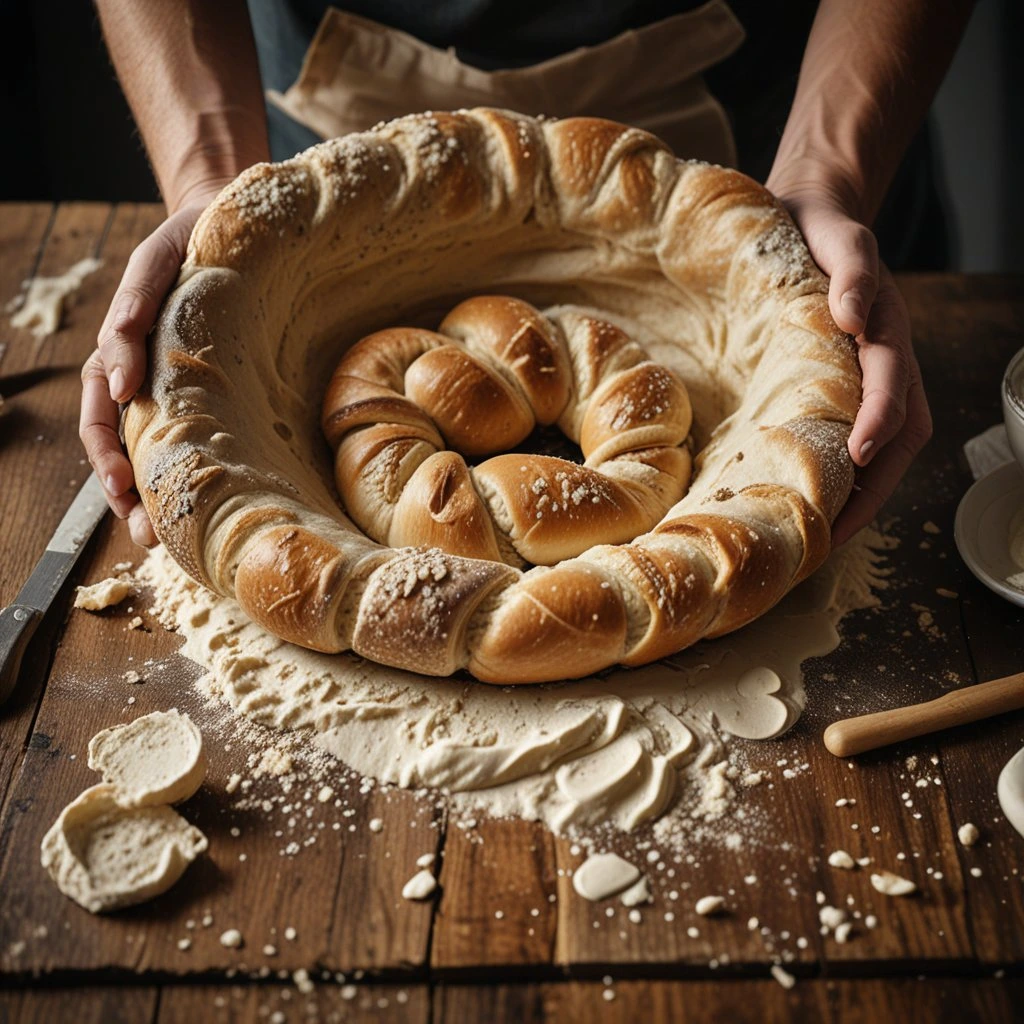
Cutting the dough
Divide your risen dough into 6 equal portions. Roll each portion into a 20-inch rope. The dough might resist stretching – no worries. Just cover it and let it rest for 10 minutes. This rest lets the gluten relax naturally.
A sharp knife, pizza cutter, or bench scraper works great to slice each rope into 1.5-2 inch pieces. Make the pieces about the size of a quarter to keep them uniform. Line your baking sheets with parchment paper and space the bites apart.
Pro tip: Pop the shaped bites in the freezer for 10-15 minutes before boiling. This quick chill helps them keep their shape in the baking soda bath.
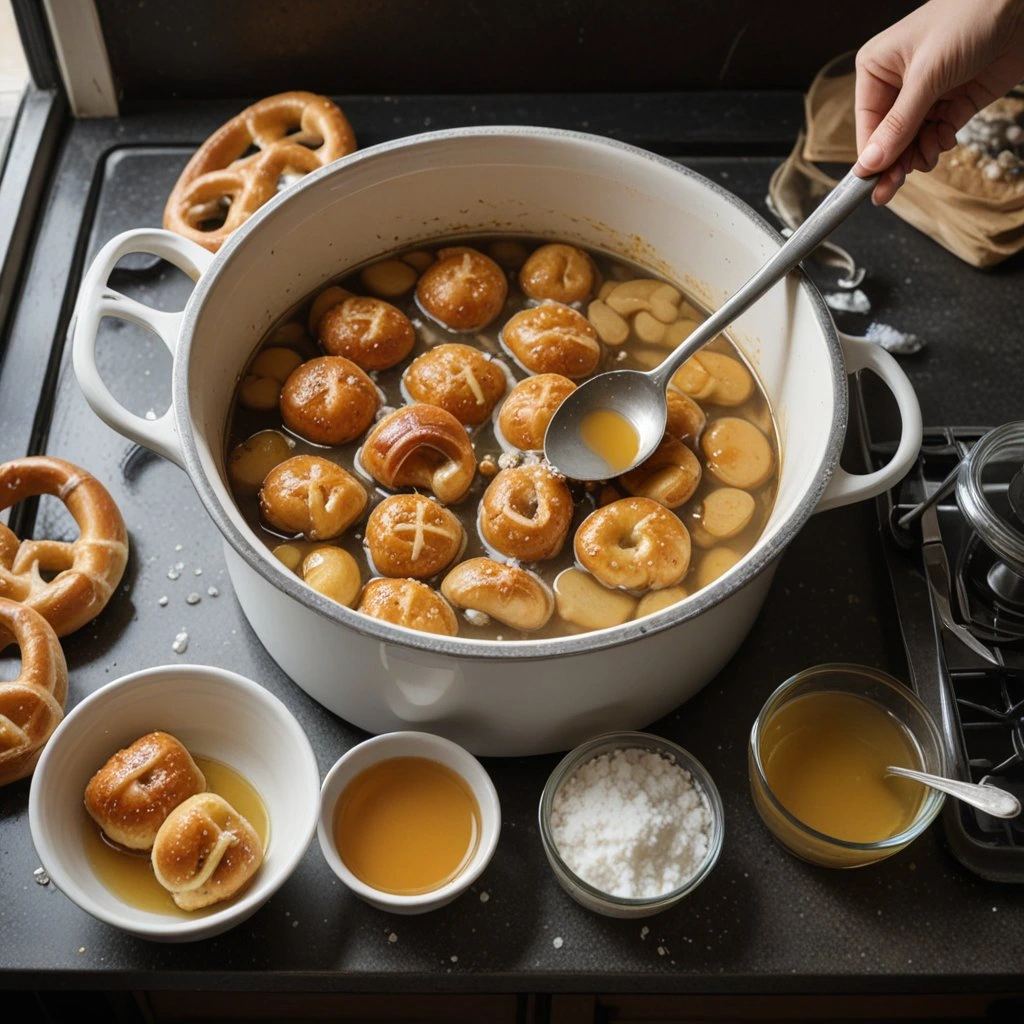
Baking soda bath tips
Your pretzel bites need a baking soda bath to develop their authentic flavor and texture. Without this step, they’d taste like plain bread rolls. Here’s the quickest way to nail this technique:
Boil 4 cups of water in a stainless steel pot – skip aluminum as it reacts with baking soda. Add the baking soda slowly since it foams up quite a bit. Best results come from:
- Boiling 8-10 pretzel bites at once
- A quick 10-15 second bath – any longer and you risk a metallic taste
- Using a slotted spoon or spider strainer to lift bites and drain excess water
Important note: The baking soda bath creates that beautiful golden-brown exterior while the inside stays soft. You’ll get a thin, crispy crust that gives pretzels their signature chew.
Move the bites straight to parchment-lined baking sheets after their bath. Sprinkle coarse sea salt on them while wet so it sticks properly. Skip the salt if you plan to add cinnamon sugar later.
Temperature tip: Keep the water boiling steadily. Even temperature means consistent results for all batches.
Space the boiled bites well apart on your baking sheets. Good airflow during baking leads to even browning and that perfect pretzel crust.
Quick work makes perfect pretzels. Each batch should move smoothly from water to baking sheet. This swift handling helps develop the texture that makes sourdough pretzel bites so special.
Baking Perfect Pretzel Bites

The final stage of creating sourdough pretzel bites focuses on getting that perfect golden-brown exterior and a soft, chewy interior. You’ll become skilled at the baking process that will give consistently delicious results every time.
Oven temperature guide
Set your oven to 425°F (218°C) with the rack in the center. Your oven needs 10-15 minutes to reach full temperature. The temperature should stay steady throughout baking to get even browning.
Temperature variations: Recipe temperatures can range from 400-500°F, but 425°F hits the sweet spot for proper crust development. This temperature creates a crispy exterior without overdoing the inside.
Visual cues for doneness
Look for these signs as your pretzel bites bake:
- A deep golden-brown exterior shows they’re ready
- The surface develops slight cracks
- Baking takes 15-20 minutes, based on how dark you want them
Timing tip: Give your baking sheets a turn halfway through for even browning. Want darker pretzels? Let them bake 2-3 minutes longer.
cooling properly
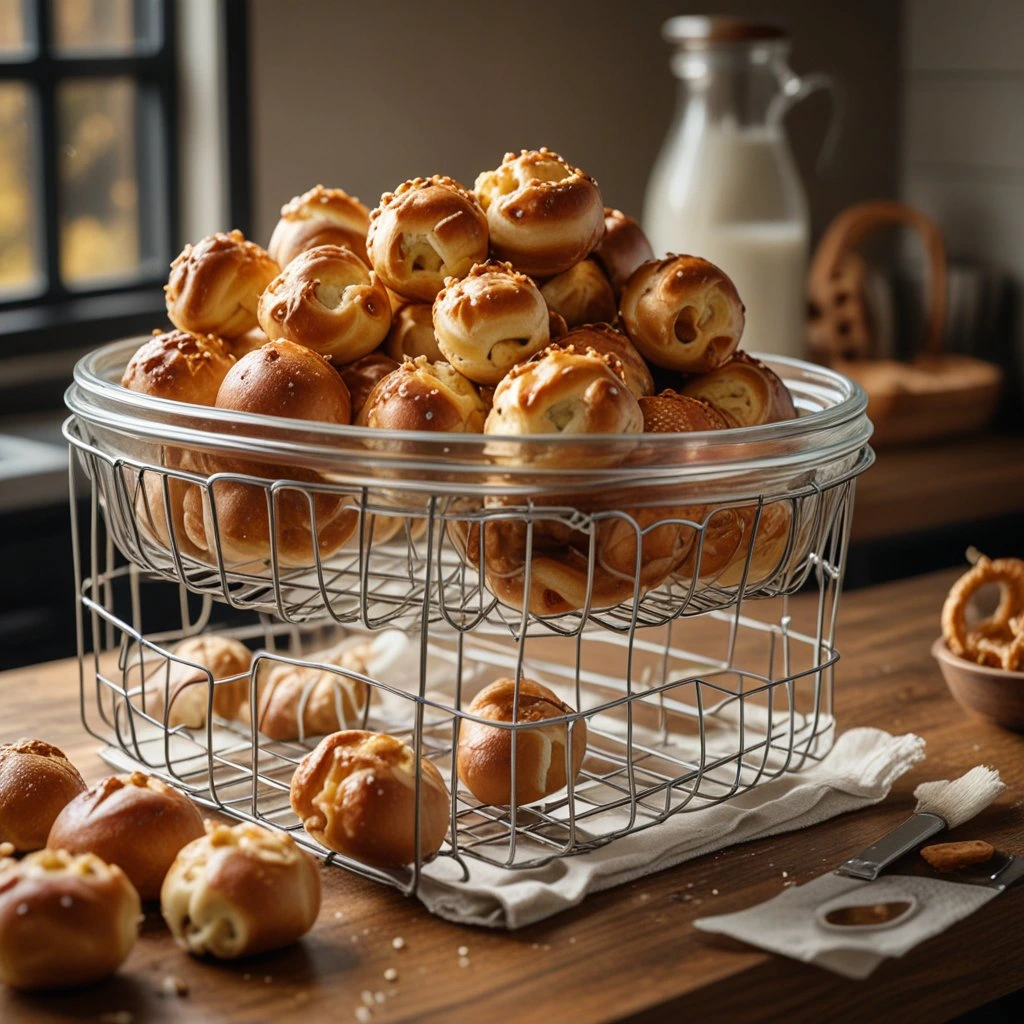
Move your pretzel bites straight to a wire cooling rack once they’re done. This stops moisture from collecting underneath and making them soggy. Let them cool for 5 minutes before serving.
These storage methods work best:
- Room temperature: Keep in airtight containers up to 3 days
- Freezer storage: Let them cool, then freeze up to 3 months
Reheating guide: Frozen bites taste fresh again with a light water brush, some coarse salt, and 10 minutes at 350°F (177°C). A quick microwave or 5 minutes at 325°F works too.
Note that: Salt shouldn’t go on pretzel bites before long-term storage. It pulls moisture from the pretzels and makes them wrinkle. Add salt just before reheating stored bites instead.
These sourdough pretzel bites taste best warm. Their signature chewy texture really stands out fresh from the oven. But stored and reheated bites keep their quality nicely, so you can make them ahead of time.
Conclusion

Sourdough pretzel bites create a perfect balance between a crispy exterior and soft, chewy interior. The process needs attention to detail, but becoming skilled at these techniques rewards you with a versatile snack. These pretzel bites keep their distinctive texture and flavor straight from the oven or stored away.
Each batch gives great lessons about sourdough baking. You’ll learn everything from starter management to getting that perfect golden-brown finish. A simple sea salt topping works well to start, and you can try different seasonings as your confidence grows. Your pretzel-making skills will get better with each attempt.
These homemade treats are nowhere near their store-bought counterparts. The fermentation process improves their nutritional value naturally. Store your pretzel bites properly, warm them up when needed, and let friends and family enjoy them – these buttery, crispy bites always make an impression.