Table of Contents
Have you ever stood in your kitchen, staring at a sheet of puff pastry, wondering how to transform it into those heavenly apple desserts you’ve admired in bakery windows? You’re not alone. Through countless hours of testing and perfecting apple puff pastry recipes, I’ve discovered that creating these delicate, flaky treats isn’t just about following instructions – it’s about understanding the magic that happens between butter, flour, and perfectly spiced apples.
Understanding the Essence of Apple Puff Pastry
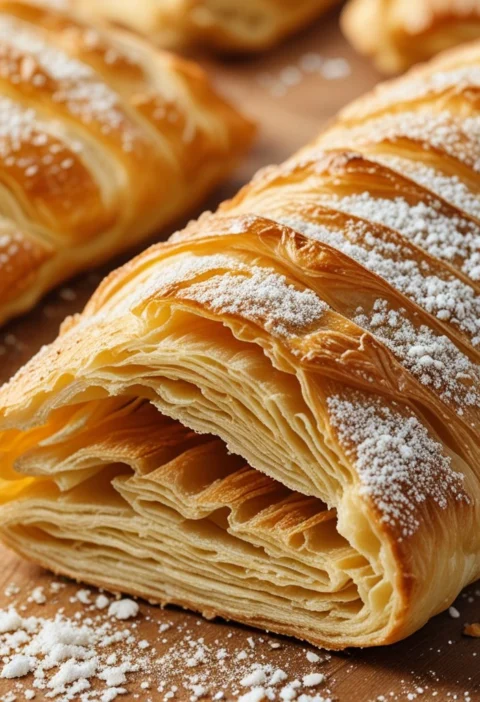
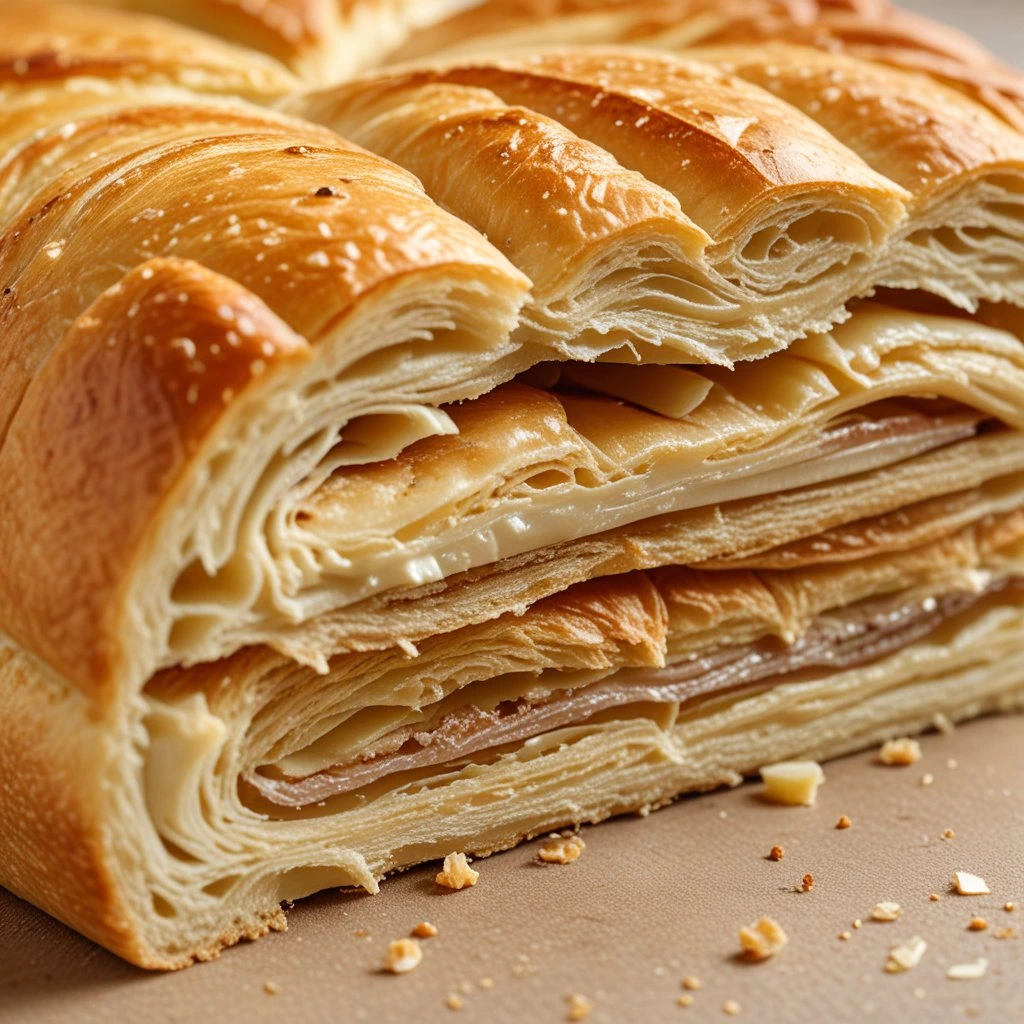
Picture biting into a perfect piece of apple puff pastry. The exterior shatters like delicate glass, revealing layers upon layers of buttery pastry, each one whisper-thin and perfectly crisp. Nestled within, you’ll find tender, caramelized apples, their natural sweetness enhanced by gentle warming spices. This isn’t just dessert – it’s an experience that transforms ordinary ingredients into something extraordinary.
Why Your Next Baking Project Should Be Puff Pastry Apple Recipes
When you’re seeking a dessert that combines elegance with approachability, apple and puff pastry recipes stand in a class of their own. Here’s what makes these pastries truly special:
- Versatility: From rustic turnovers to elegant tarts
- Visual impact: Natural showstoppers at any gathering
- Make-ahead friendly: Prepare components in advance
- Customizable: Adapt to seasonal flavors and preferences
Essential Ingredients for Perfect Apple Puff Pastry
The foundation of any outstanding apple puff pastry recipe begins with quality ingredients. Let’s break down what you’ll need:
Creating the perfect apple puff pastry base for your baby shower pastries is essential for achieving that delightful, flaky texture and rich, flavorful filling. Here’s a detailed breakdown of the ingredients and their special notes:
For the Puff Pastry Base
| Ingredient | Amount | Special Notes |
|---|---|---|
| All-purpose flour | 2½ cups | Choose unbleached for best results |
| European-style butter | 2 cups | Higher fat content creates flakier layers |
| Fine sea salt | 1 teaspoon | Enhances overall flavor |
| Ice water | ¾ cup | Must be extremely cold |
For the Apple Filling
| Ingredient | Amount | Special Notes |
|---|---|---|
| Baking apples | 4 medium | Mix varieties for complex flavor (e.g., Granny Smith and Honeycrisp) |
| Granulated sugar | ½ cup | Adjust based on apple sweetness |
| Ground cinnamon | 1 teaspoon | Fresh ground preferred |
| Fresh lemon juice | 1 tablespoon | Prevents browning |
| Vanilla bean | 1 pod | Optional but recommended for enhanced flavor |
Preparation Tips
Puff Pastry Base
- Mixing the Dough: Combine the flour and salt in a large bowl. Cut the cold butter into small cubes and mix it into the flour until it resembles coarse crumbs. Gradually add ice water, mixing until the dough just comes together.
- Chilling: Form the dough into a rectangle, wrap it in plastic wrap, and chill for at least 1 hour. This helps to relax the gluten and keep the butter cold.
- Laminating: Roll out the dough into a rectangle, fold it into thirds (like a letter), and rotate 90 degrees. Repeat this process 4-5 times, chilling the dough for 30 minutes between each fold. This creates the flaky layers.
Apple Filling
- Preparing the Apples: Peel, core, and thinly slice the apples. Toss them with lemon juice to prevent browning.
- Mixing the Filling: In a large bowl, combine the apple slices with sugar, cinnamon, and the seeds from the vanilla bean pod. Mix well to ensure even coating.
- Cooking (Optional): For a softer filling, you can cook the apple mixture in a saucepan over medium heat for about 5-10 minutes until the apples are slightly tender. Let it cool before using.
Assembly and Baking
- Shaping: Roll out the chilled puff pastry dough to about 1/8 inch thickness. Cut into desired shapes (squares for turnovers, circles for tartlets, etc.).
- Filling: Place a small amount of the apple filling in the center of each pastry piece. For mini apple roses, arrange the apple slices in a overlapping circular pattern.
- Baking: Preheat your oven to 400°F (200°C). Bake the pastries for 15-20 minutes, or until golden brown and puffed.
Final Touches
- Glazing: For a shiny finish, brush the pastries with a simple syrup or egg wash before baking.
- Dusting: After baking, dust with powdered sugar or a cinnamon-sugar mixture for added sweetness and visual appeal.
By following these detailed steps and tips, you’ll create a puff pastry base and apple filling that are sure to impress your baby shower guests. Enjoy the process and the delicious results!
Mastering Your Apple Puff Pastry Recipe
Creating perfect puff pastry requires attention to detail and patience. Let’s walk through the process step by step.
Preparing the Base Dough
- Combine flour and salt in a chilled bowl
- Incorporate small pieces of cold butter
- Gradually add ice water while mixing gently
- Form into a rectangle without overworking
The Art of Lamination
The secret to flaky layers lies in proper lamination. Here’s your roadmap to success:
- Roll dough into a rectangle
- Fold into thirds like a letter
- Turn 90 degrees and repeat
- Rest between folds in refrigerator
Creating Your Signature Apple Puff Pastry Tart
When crafting your puff pastry apple tart, consider these professional techniques:
Apple Preparation Techniques
- Slice apples uniformly (1/8 inch thickness)
- Toss with lemon juice immediately
- Drain excess liquid before assembly
- Pattern apples in overlapping rows
Assembly Secrets
Think of assembling your tart as creating a piece of art. Each component plays a crucial role:
- Score a border around pastry edge
- Brush with egg wash for shine
- Arrange apples in a decorative pattern
- Sprinkle with sugar before baking
Innovative Apple and Puff Pastry Recipes
Let’s explore creative variations that elevate traditional recipes:
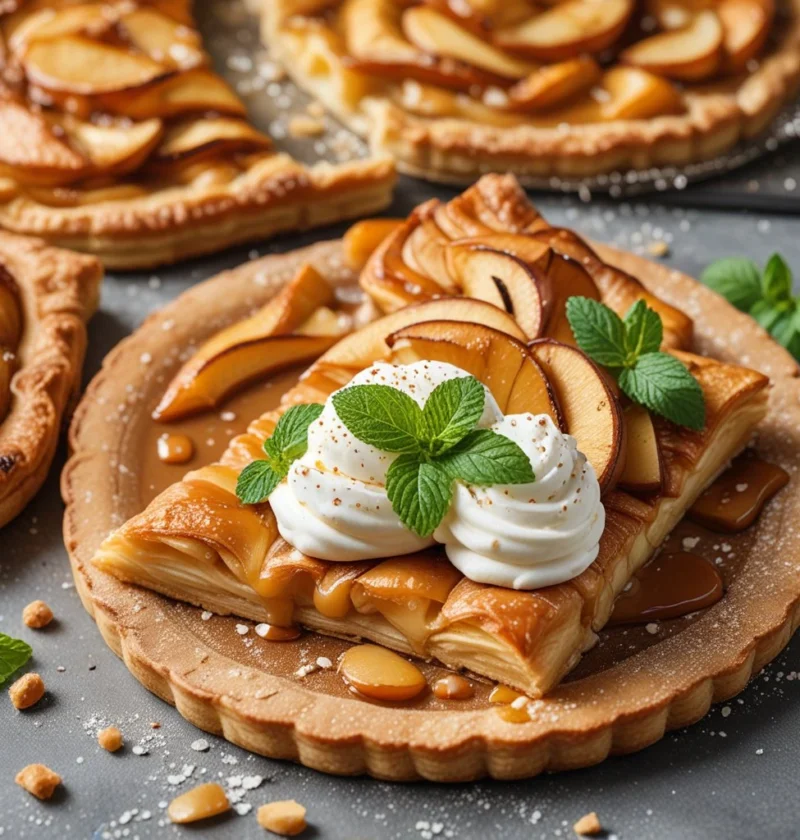
Classic French-Style Apple Tart
Transform simple ingredients into an elegant dessert:
- Roll pastry into a rectangle
- Spread thin layer of almond cream
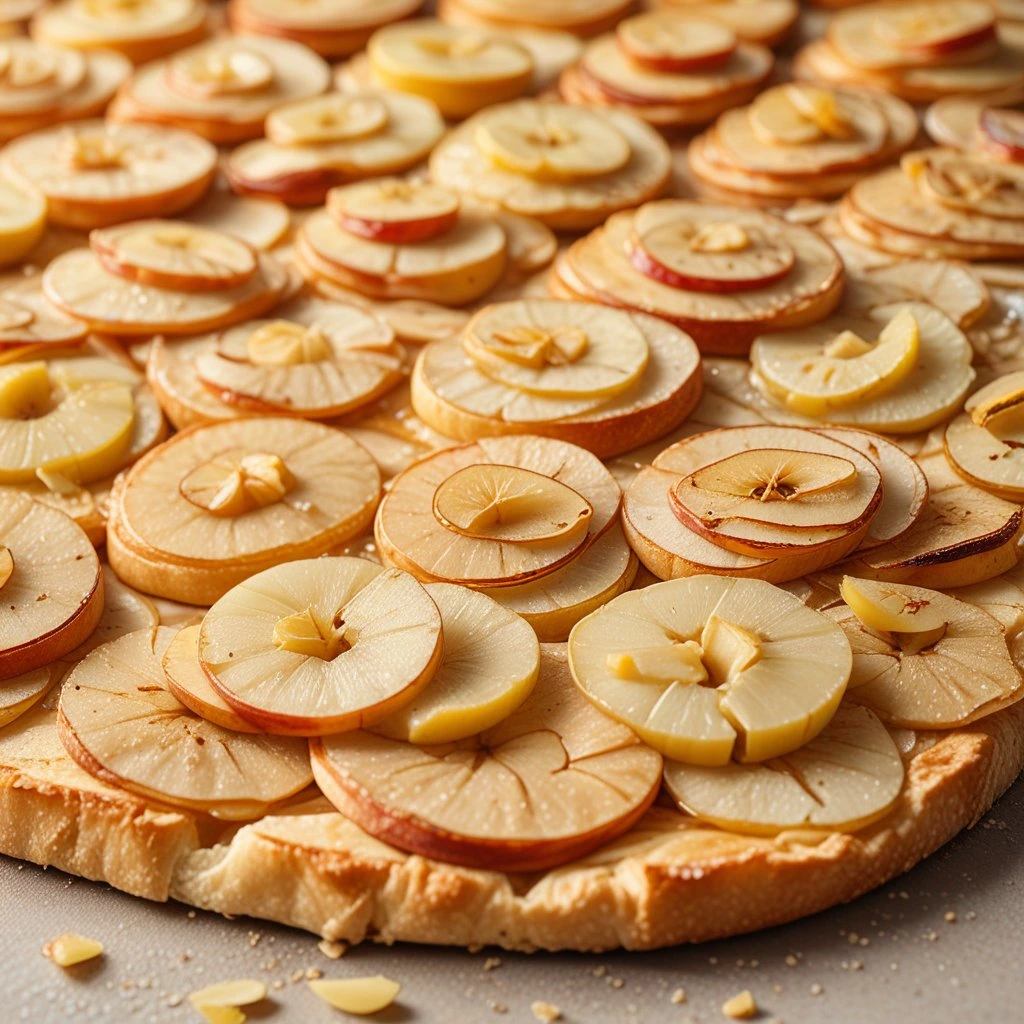
- Arrange paper-thin apple slices
- Glaze with apricot jam
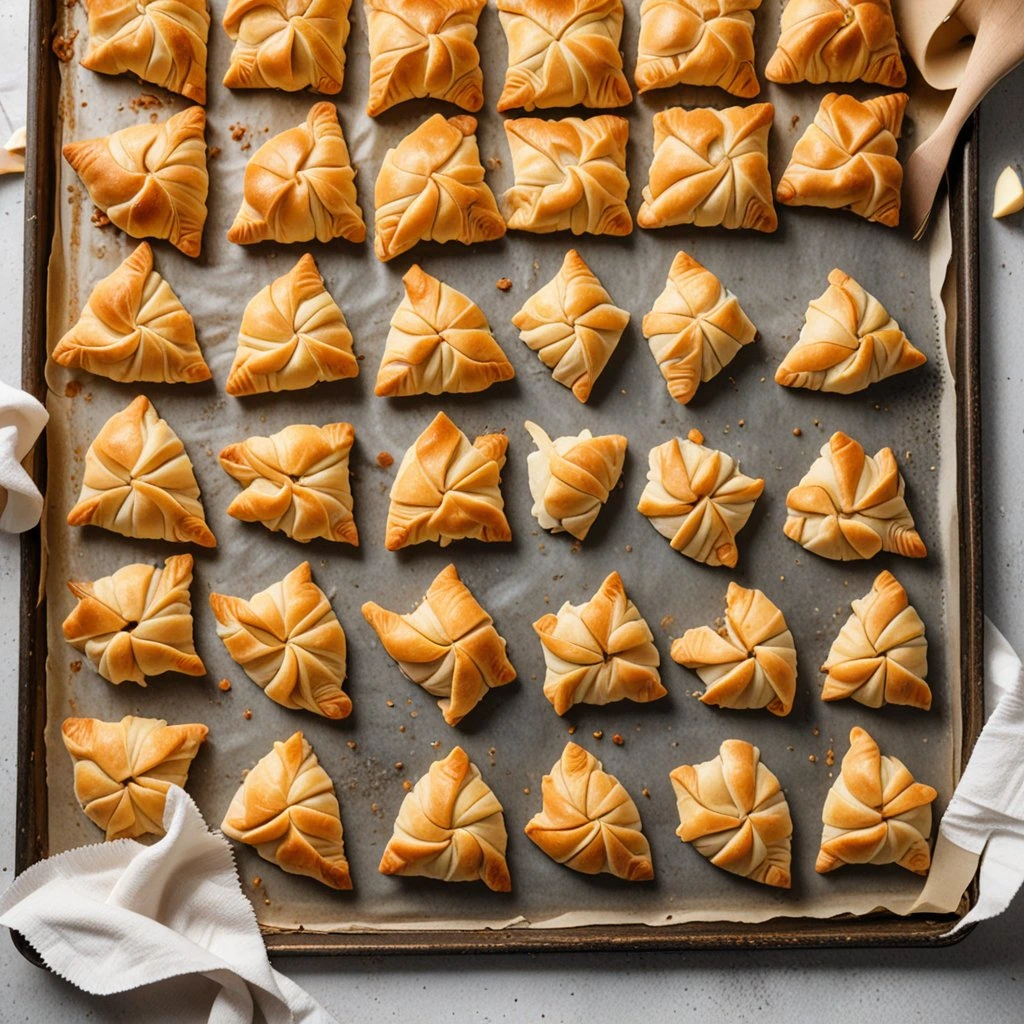
Rustic Apple Turnovers
Perfect for casual gatherings or breakfast treats:
- Cut pastry into squares
- Fill with spiced apple mixture
- Seal edges carefully
- Dust with cinnamon sugar
Troubleshooting Your Puff Pastry Creations
Even experienced bakers encounter challenges. Here’s how to overcome common issues:
Temperature Control
- Keep ingredients cold throughout process
- Work quickly but precisely
- Return dough to refrigerator if butter softens
- Chill shaped pastries before baking
Texture Problems
- Tough pastry: Reduce handling time
- Uneven rising: Check oven temperature
- Soggy bottom: Pre-bake bottom layer
- Filling leakage: Seal edges thoroughly
Storage and Make-Ahead Tips
Maximize your time and ensure perfect results:
Storage Guidelines
- Unbaked pastries: Freeze up to 3 months
- Baked pastries: Best served same day
- Refrigerate components separately
- Thaw frozen pastries overnight
Professional Tips for Perfect Results
Elevate your apple puff pastry recipes with these expert insights:
Temperature Management
- Keep butter at 60°F
- Maintain cool room temperature
- Chill tools between uses
- Pre-heat oven thoroughly
Visual Cues for Success
Look for these indicators:
- Distinct layers visible in dough
- No butter breakthrough
- Even golden color when baked
- Visible flaky layers
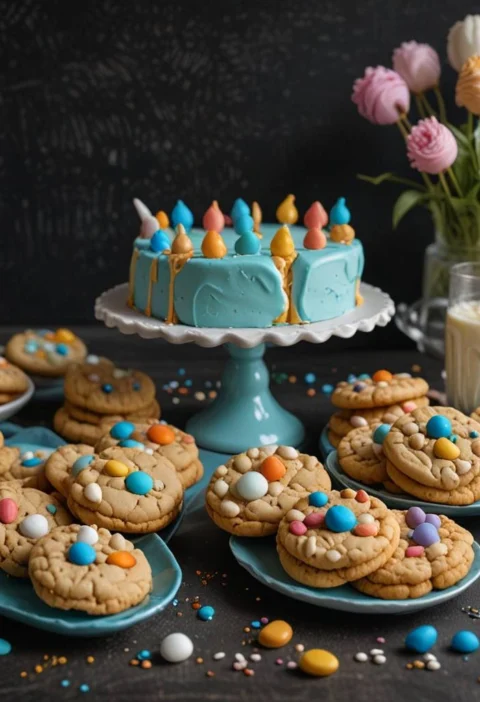
Planning Perfect Baby Shower Pastries

Transform your apple puff pastry creations into unforgettable baby shower delights. Whether you’re hosting an intimate gathering or a grand celebration, these elegant pastries will elevate your event to new heights.
Baby Shower Menu Planning
Incorporate these elegant and delicious options into your baby shower menu:
- Mini Apple Roses: Delicate, rose-shaped pastries that can be made up to 2 days in advance.
- Apple Tartlets: Individual serving sizes, perfect for preparing the day before.
- Apple Pinwheels: Spiral-shaped treats that can be made the morning of the event.
- Classic Turnovers: Hand-held favorites that can be frozen up to one month ahead.
Quantity Guidelines for Baby Showers
Planning the right amount of pastries ensures happy guests and minimal waste:
- Small gathering (10-15 guests): 30-45 pieces
- Medium event (20-30 guests): 60-90 pieces
- Large celebration (40+ guests): 120+ pieces
- Add 20% extra for unexpected guests
Theme-Based Presentations
Create memorable displays that complement your baby shower theme:
Gender-Neutral Presentations
- Drizzle pastries with golden caramel
- Dust with shimmering sugar
- Arrange on tiered stands with fresh flowers
- Add edible metallic accents
Gender-Specific Touches
- Pink glaze for girl celebrations
- Blue-tinted icing for boy celebrations
- Colored sugar sprinkles
- Themed garnishes and decorations
Timing Your Preparation
Follow this timeline for stress-free baby shower preparation:
1 Month Before: Plan the menu and determine quantities. Order any specialized ingredients needed.

1 Week Before: Prepare raw pastries and freeze them. Ensure they are properly wrapped for storage.

2 Days Before: Thaw frozen items in the refrigerator. Keep them covered to maintain freshness.

1 Day Before: Prepare fillings and decorations. Store them separately to avoid mixing.  Morning Of: Complete final assembly and baking.

 Allow sufficient time for cooling before serving.
Special Dietary Considerations
Accommodate various dietary needs without compromising on taste:
- Offer fruit-only options
- Consider dairy-free alternatives
- Label ingredients clearly
- Provide mini portion options
Display and Serving Tips
Create an impressive presentation that wows your guests:
- Temperature Management
- Keep pastries at room temperature
- Arrange in batches if needed
- Use warming trays for extended events
- Visual Impact
- Create height variation with stands
- Incorporate fresh fruit garnishes
- Add themed decorative elements
- Use coordinating serving pieces
- Practical Considerations
- Place small plates nearby
- Provide appropriate serving utensils
- Include napkins and forks
- Consider mess-free bite sizes
Interactive Pastry Station Ideas
Engage your guests with these creative serving suggestions:
- Build-Your-Own Station
- Offer various toppings
- Include different sauces
- Provide warming options
- Set up a garnish bar
- Themed Packaging
- Custom take-home boxes
- Decorated paper bags
- Themed ribbons and tags
- Recipe cards as favors
Frequently Asked Questions
Q: Why isn’t my apple puff pastry rising properly? A: Success with apple puff pastry depends on maintaining cold temperatures throughout preparation and ensuring proper lamination. Check butter temperature and resting times between folds.
Q: Can I make apple puff pastry recipes ahead? A: Yes! Prepare components separately and assemble just before baking. Unbaked assembled pastries can be frozen for up to three months.
Q: Which apples work best in puff pastry apple tart recipes? A: Choose firm, tart-sweet varieties like Honeycrisp, Granny Smith, or Pink Lady. These maintain their shape while baking and provide balanced flavor.
Q: How far in advance can I prepare apple puff pastry for a baby shower? A: You can prepare and freeze unbaked apple puff pastry items up to one month ahead. Bake them fresh the morning of the shower for best results.
Q: What’s the best way to keep puff pastries fresh during a long baby shower? A: Serve pastries in small batches, replenishing as needed. Keep extras in a cool area and avoid direct sunlight or heat.
Your Next Steps to Pastry Perfection
Ready to begin your journey into the world of apple puff pastry? Start with these foundational steps:
- Gather quality ingredients
- Review techniques thoroughly
- Practice basic folds
- Start with simple shapes
Remember, mastering apple and puff pastry recipes takes time and patience. Each attempt brings you closer to perfection. Document your progress, noting what works and what needs adjustment. Share your creations with fellow baking enthusiasts and don’t hesitate to experiment with seasonal variations.
When planning your baby shower, remember that the key to success lies in preparation and timing. Your apple puff pastry creations will not only delight guests with their taste but also contribute to the visual magic of your celebration. With proper planning and these professional tips, you’ll create a memorable spread that guests will talk about long after the party ends.
Final Words of Encouragement
Your journey to mastering apple puff pastry starts now. Whether you’re crafting a simple apple turnover or an elaborate puff pastry apple tart, remember that every master baker started exactly where you are. Keep this guide handy, practice regularly, and soon you’ll be creating pastries that rival those in professional bakeries.
Ready to begin? Gather your ingredients, roll up your sleeves, and prepare to create something extraordinary. Don’t forget to share your creations on social media using #PuffPastryPerfection – your success might just inspire another aspiring baker to begin their own journey.
Remember: Success in baking comes not just from following recipes, but from understanding the principles behind them. Keep practicing, stay patient, and most importantly, enjoy the process of creating these timeless treats.